DIY Newborn Photos
DIY Newborn Photos
I highly recommend having professional newborn photos done, but I understand that’s not always a possibility. In this post, I’ll talk about some ways you can get professional style newborn photos on your own.
Safety always comes first, so I’ll cover what you should not attempt in your DIY newborn photos as well.
Photos are best done within the first two weeks, so you might want to get your supplies ready before you baby arrives. Let’s get started!

DIY Newborn Photo Supplies
What Items You Should Not Use
Most newborn photographers have gone through extensive training to keep your baby safe during newborn photos. They will know, from experience, when it is safe for your baby to be positioned a certain way or on a specific prop.
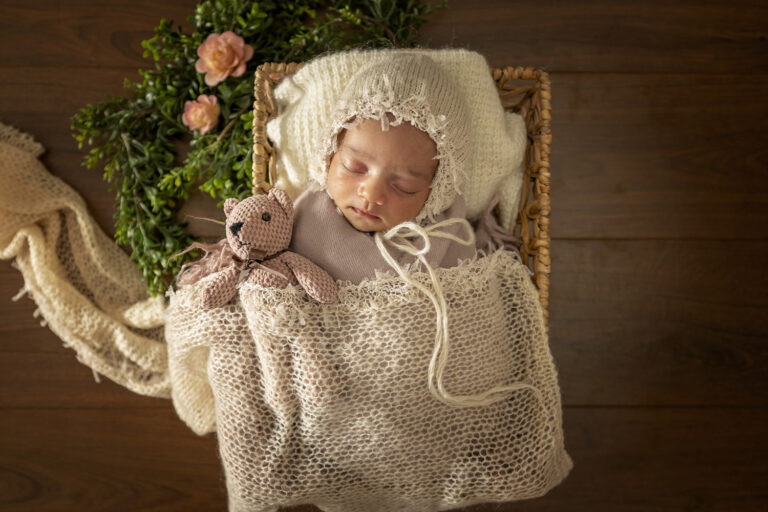
For DIY newborn photos, I do not recommend using newborn beds or anything without tall sides and a sturdy base. Newborns can startle easily and when they do, it can be easy for them to fall off a newborn bed or other prop that doesn’t have sides. Use only props like baskets with high sides and a wide base or place your baby flat on the floor.
The basket you see here was purchased at Target and I have added a flat, round ten pound weight to the bottom. Blankets cover the weight so the baby never comes in contact with the metal.

Create the Scene
The first thing you’ll want to do is create your scene. I like to start with a wood floor and a basket. I’ll make sure the basket is parallel to the wood planks and design from there. You want to photograph from above, so don’t worry about the walls or anything that’s you won’t be looking straight down on.
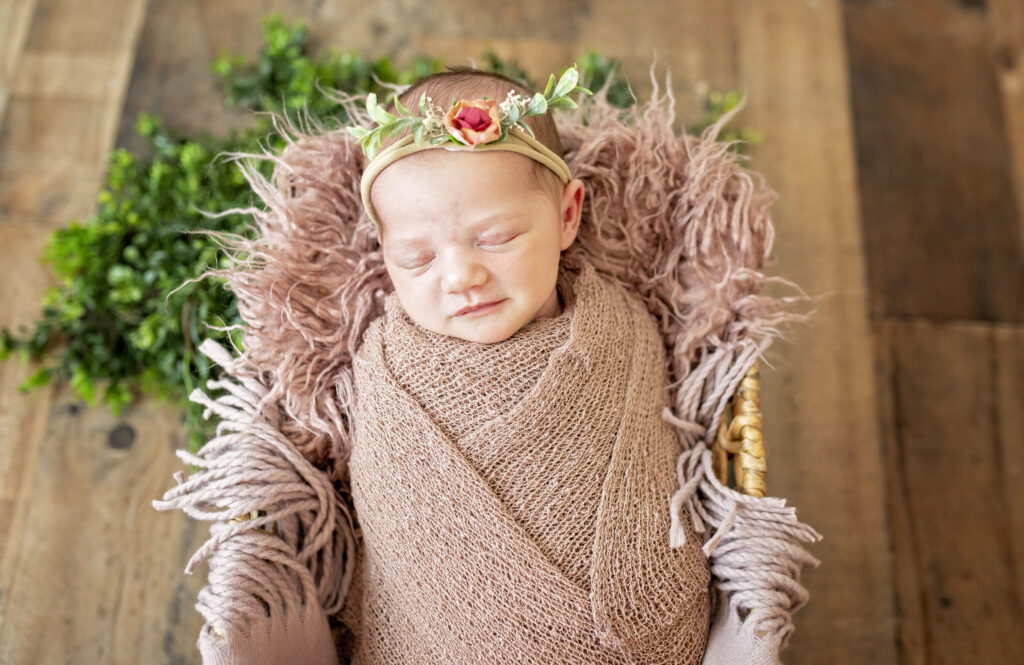
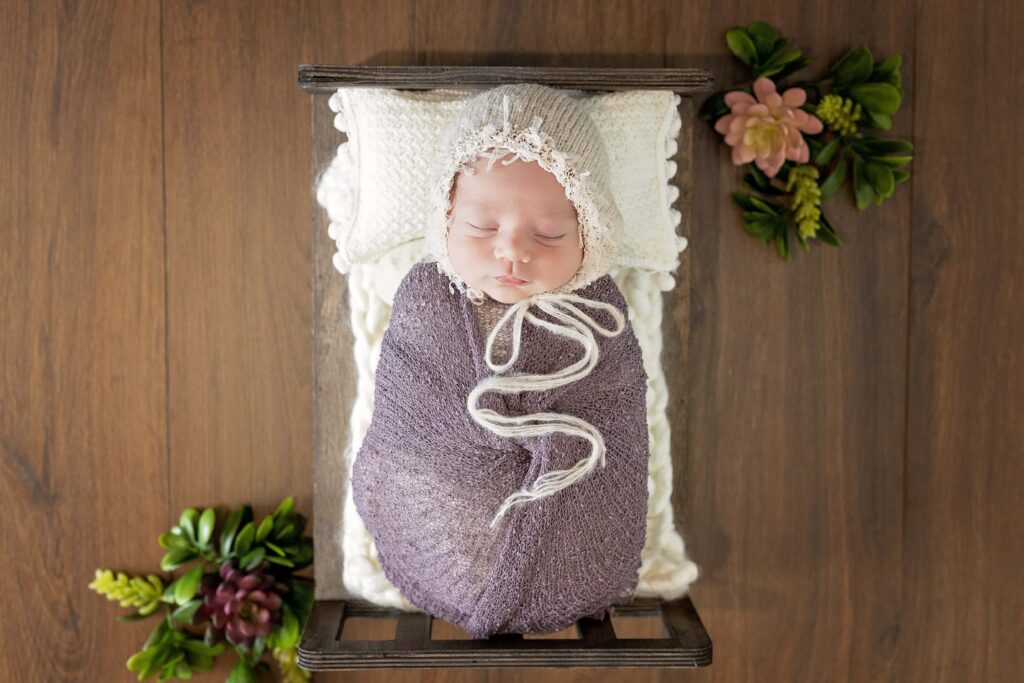
For girls, I might add some greenery and flowers to the base of the basket. For boys, I will likely just keep it to greenery. Fill the basket with soft blankets, having one end raised up so the baby’s bottom will be lower than their head. They will be angled so their head is closer to the camera than any other part of their body.
Have a few props close by such as stuffed animals, hats, bonnets and even different greenery options. This will allow you to create a different scene without moving your baby at all.
Sleepy Baby
The goal is to get them into a deep sleep where they won’t wake up when you move them. I usually hold the baby and sway back and forth while standing until the baby’s head is a little wobbly.
Be sure to always keep their head well supported. I just see if there is any muscle use when I move their head just a little. If they are completely relaxed and have a steady breathing rhythm, they are likely ready.
Hats & Headbands
An easy way to get some variety in your pictures without moving your sleeping baby is to add hats, bonnets and headbands. If you’re crafty, you could easily make your own hats and headbands. If that’s not your thing, Etsy is a great source for these items. Just be sure to order “newborn” sized items, not 0-3 months. There is a big difference in size.
Other Tips
Always keep your baby on their back. Only a trained newborn photographer should attempt placing a baby on their belly. The photos you see where the baby has their head resting in their hands are not one single photo. Those pictures are several pictures that are pieced together in Photoshop. Babies cannot support their head in their hands, Please do not attempt this with your baby. Safety is always the number one concern when it comes to newborns.
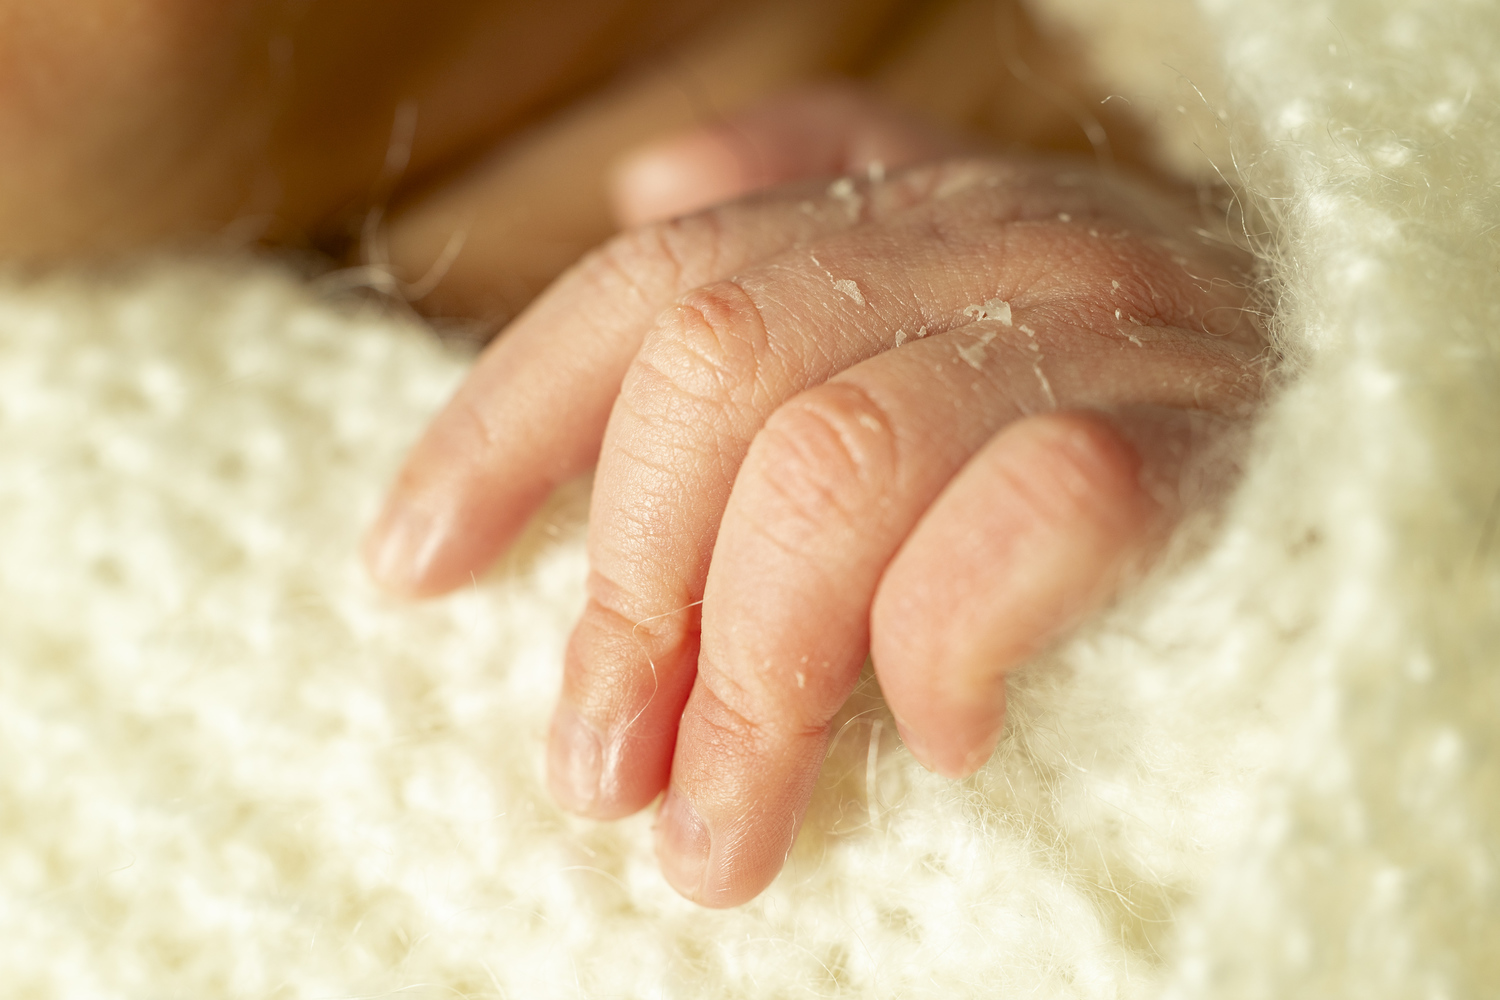
I recommend always keeping your baby on the floor. This will avoid any chance of them falling in any way. For pictures where you want to show the top of their head, feel free to lay them in the middle of a large bed and get all those little details. Hands, feet, lips, ears, nose and even the way their hair swirls are all great little details to photograph.
Have fun with it and enjoy that new baby of yours!

What to expect at your newborn session
Learn what to expect at your baby’s newborn session.

Fun family maternity session
See this family maternity session at the beach and get inspiration for your own session.
Don’t wait for school photos
Don’t wait for those school photos to come in the mail. Come to the studio and have your pictures in about a week!